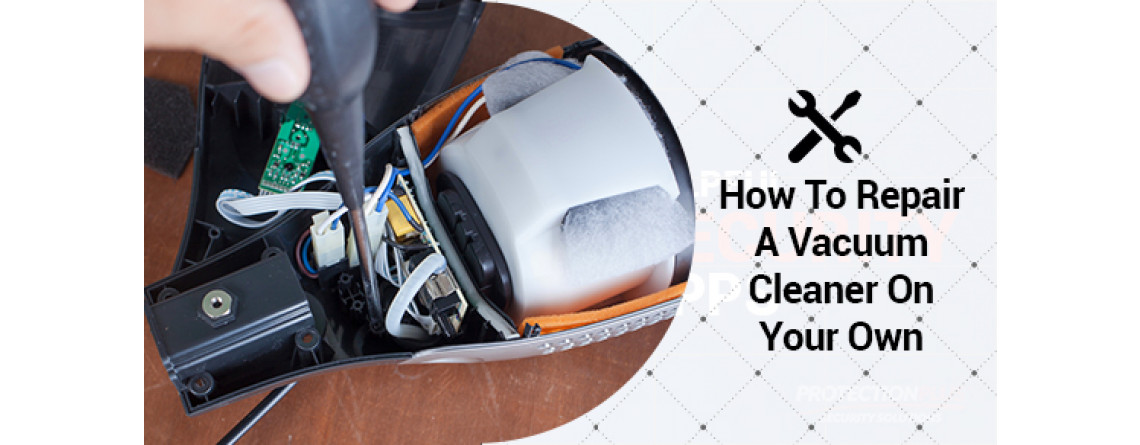
A Quick Guide On Repairing A Vacuum Cleaner
A vacuum cleaner is a critical piece of equipment within the modern home. Without it, dust can quickly accumulate and a once-clean living space can become dirtied over a short period of time. Most homeowners have little understanding on vacuum cleaner repair. They may believe the process is too complex for those with limited technical skill. There are multiple techniques that the average homeowner can now use to ensure their system is repaired and working to peak performance. In this post, we’ll highlight how to repair a vacuum cleaner.
For Lost Suction Power, Replace the Belt
A vacuum cleaner’s belts are designed to stretch and wear out over time, meaning they’ll eventually require replacement. Most users will discover it’s time to replace their vacuum cleaner’s belt when their vacuum is not picking up well. Fortunately, on some vacuums, the replacement work is quite simple. First, users must access the belt by tipping the system on its side and then removing any screws that hold the bottom plate underneath the cleaner in place.
Once the bottom plate is removed, look to see if the brush and the belt are easy to take out of the vacuum. If not, it’s recommended to bring your vacuum into a repair shop for the change. With the belt and brush removed, slide the new belt around the vacuum motor shaft, and thread the brush roll through the other end of the belt. Users will have to use a little muscle to place the brush roll into position, and stretch the belt into place. If you find it’s difficult to do yourself, bring your vacuum into a vacuum repair shop as installing incorrectly could damage the brush roll or motor shaft of the vacuum. Once installed, simply replace the bottom plate and turn on the vacuum.
For Clogs, Inspect the Bags and the Connections
A clog in the hose can often be a simple repair job, but severe clogs have been known to break down a vacuum system over time. This means users must know the best way to remove the clog quickly and completely. First, remove the hose and stretch it out over the floor. If there isn’t clear visibility right through the hose, there is likely a blockage.
Users can try to use another vacuum to suck out the clog. Sometimes you can shake out the debris. It’s important not to be tempted to probe the hose, or take it apart, otherwise this usually causes more damage to the hose which results in the costly purchase of a new hose. Never run water through the hose, as this not only impacts the dirt, but causes permanent damage. A vacuum repair shop can usually unclog any hose quickly and damage free.
By harnessing the tips in this post, homeowners can quickly analyze and resolve their vacuum cleaner repair issue. To learn more on this process, speak with our trusted specialists directly!
